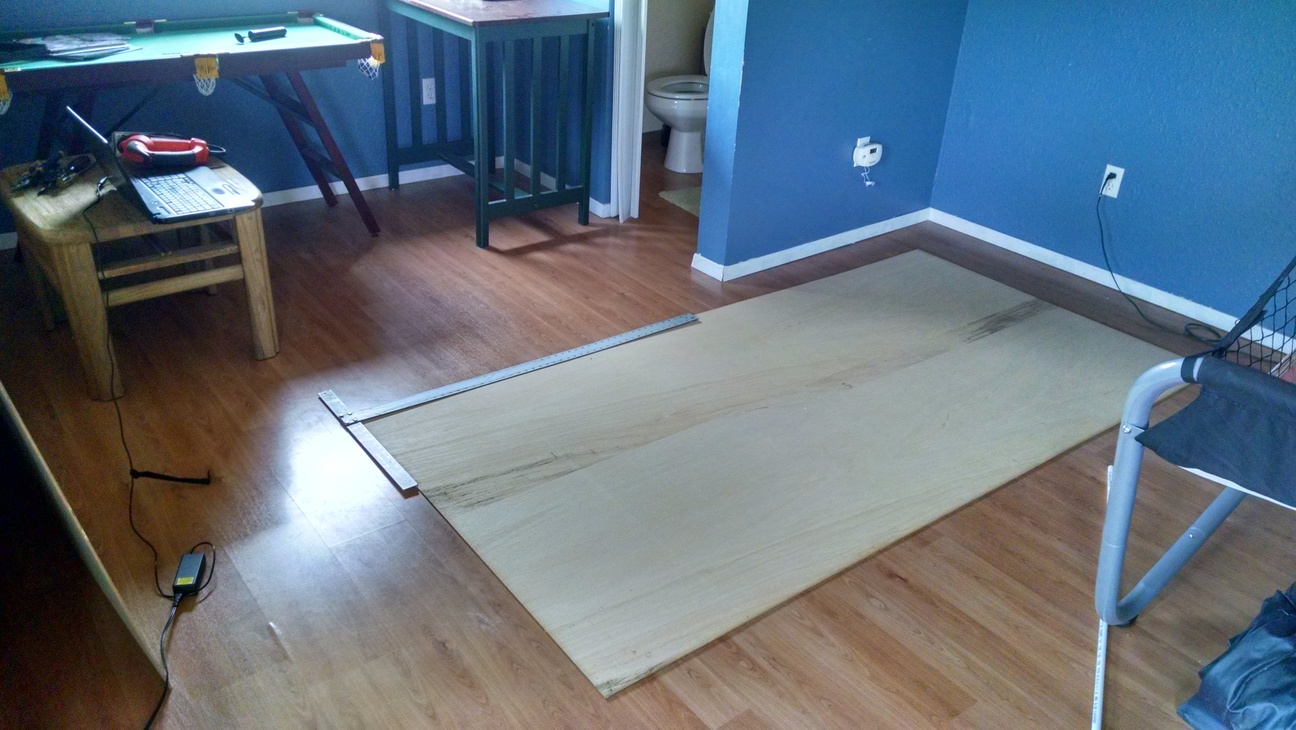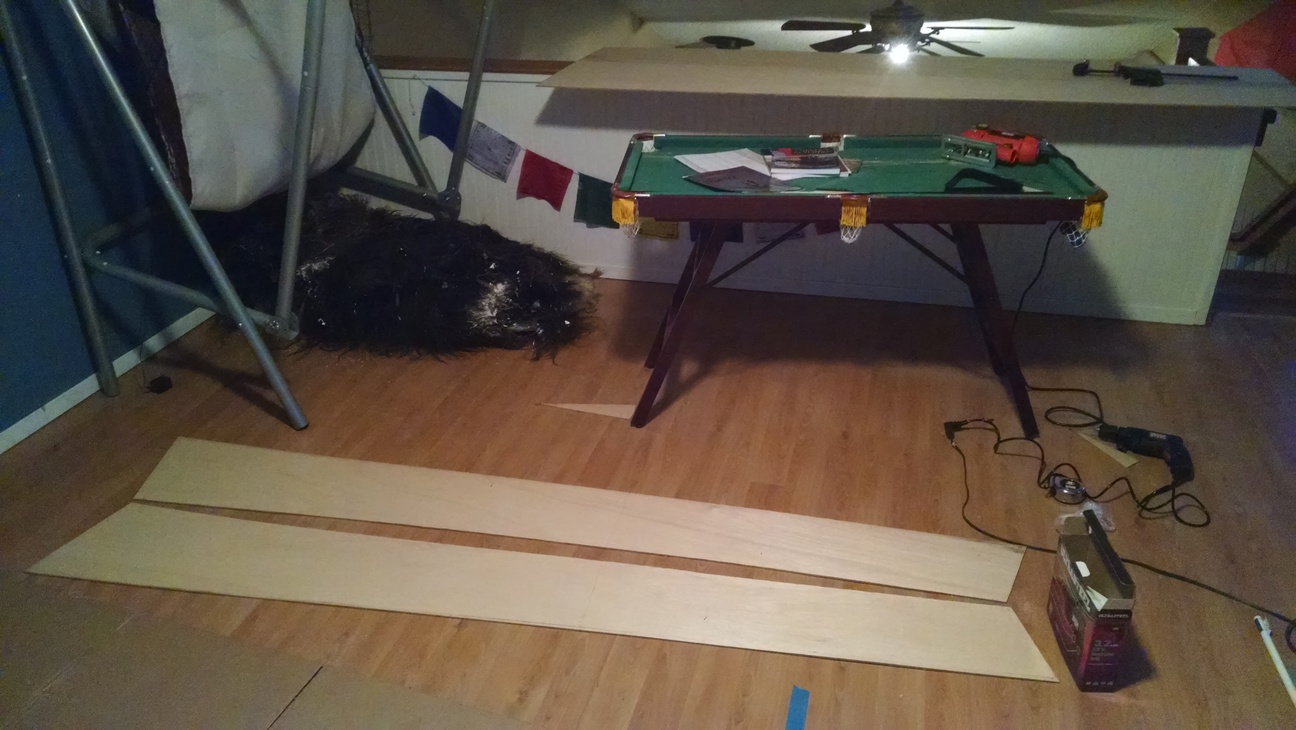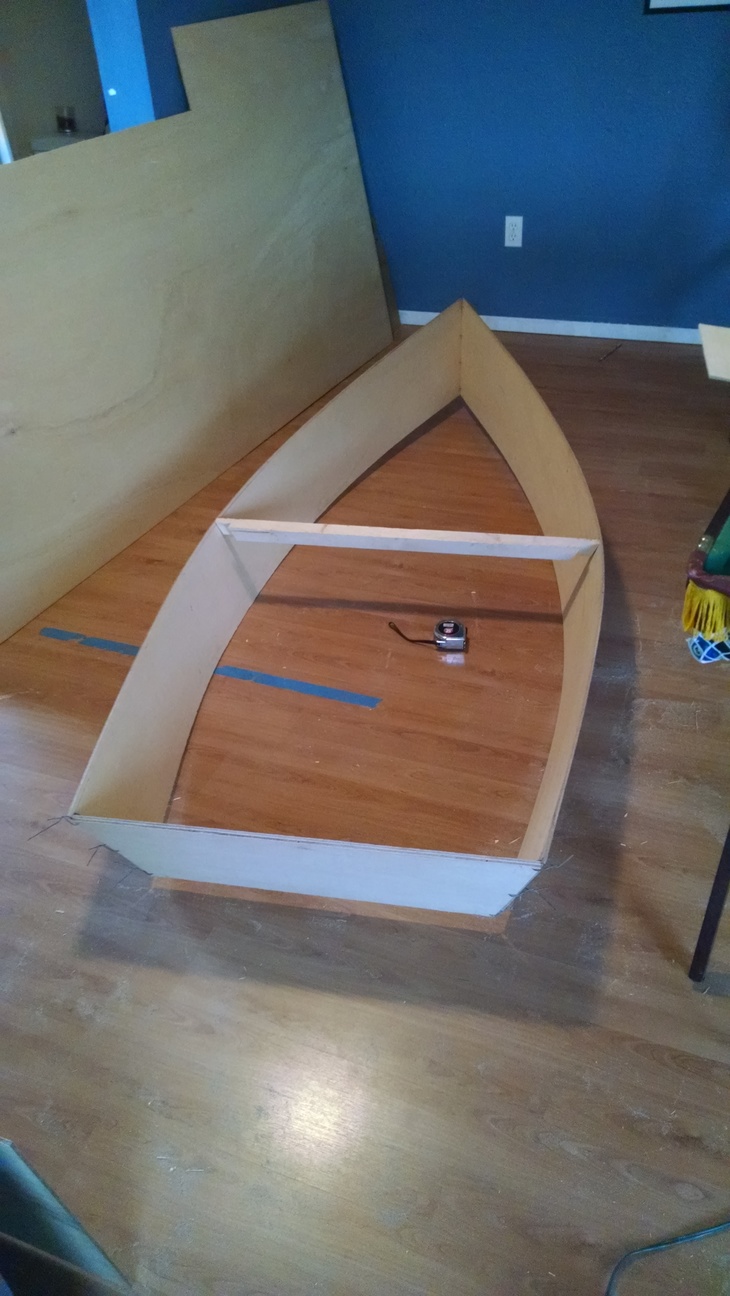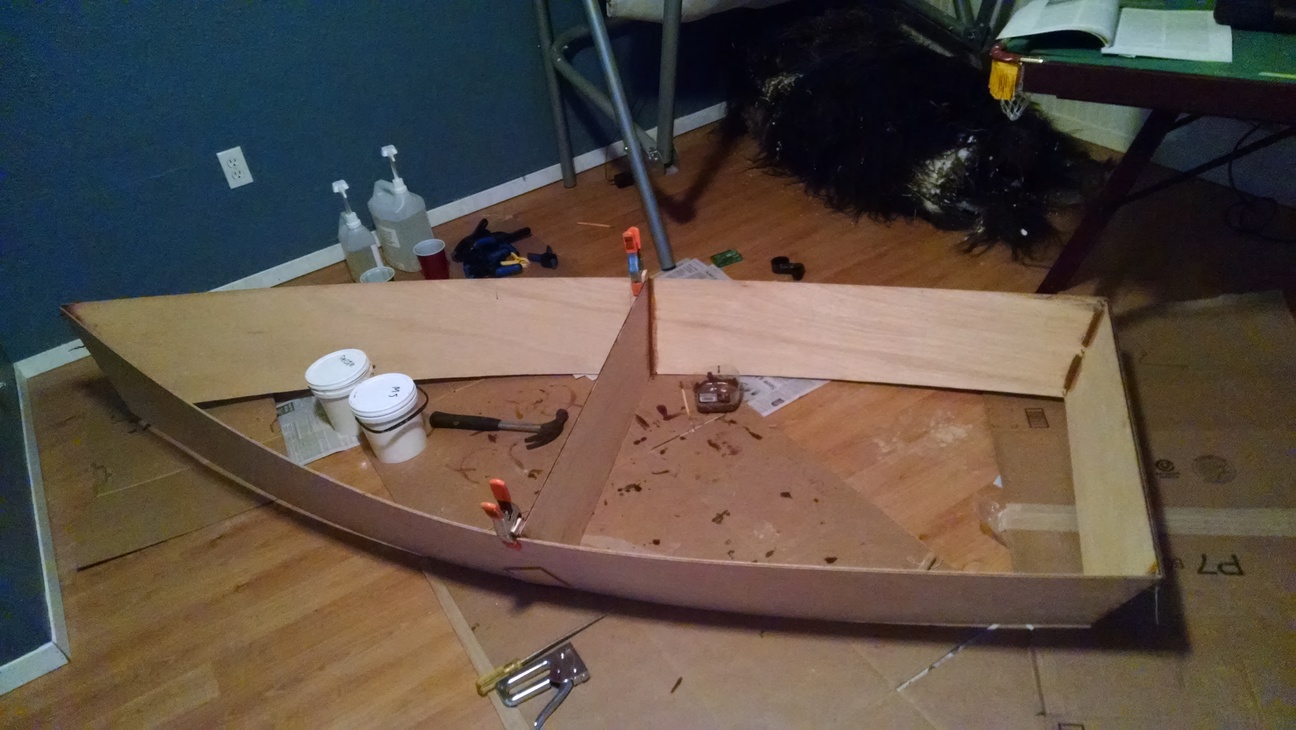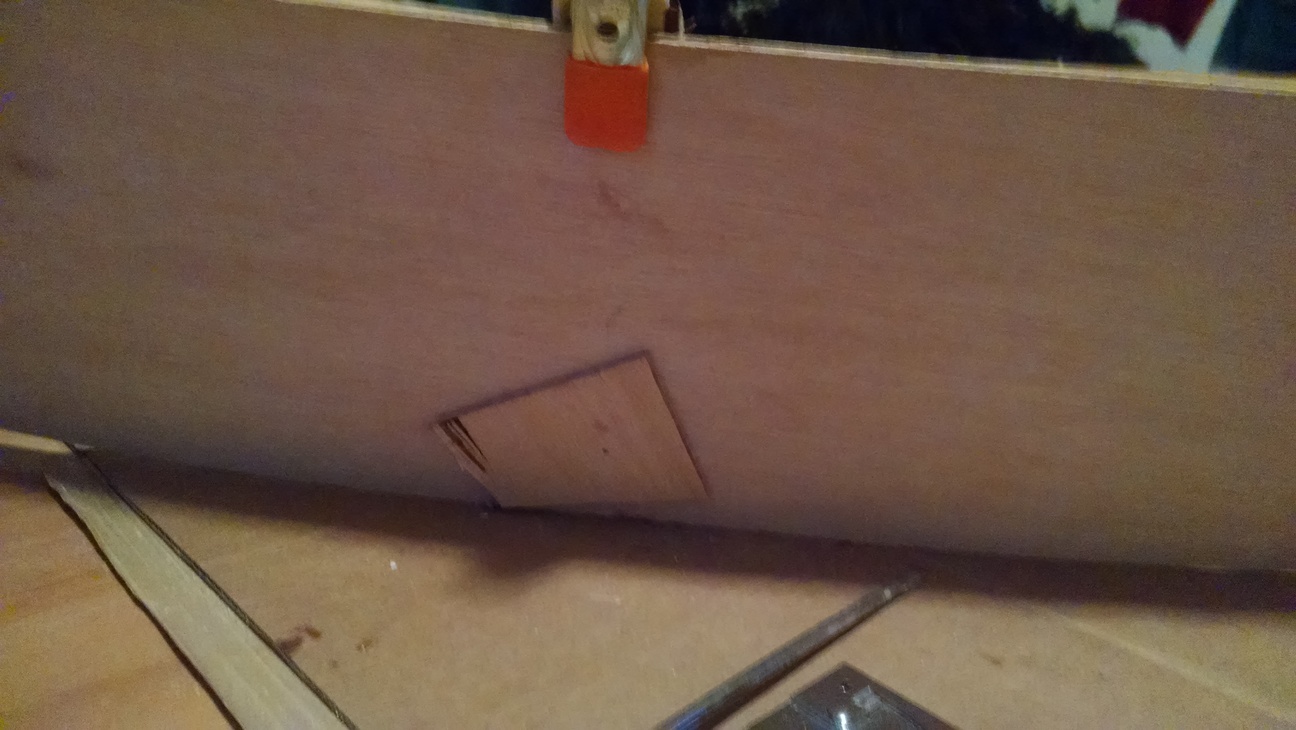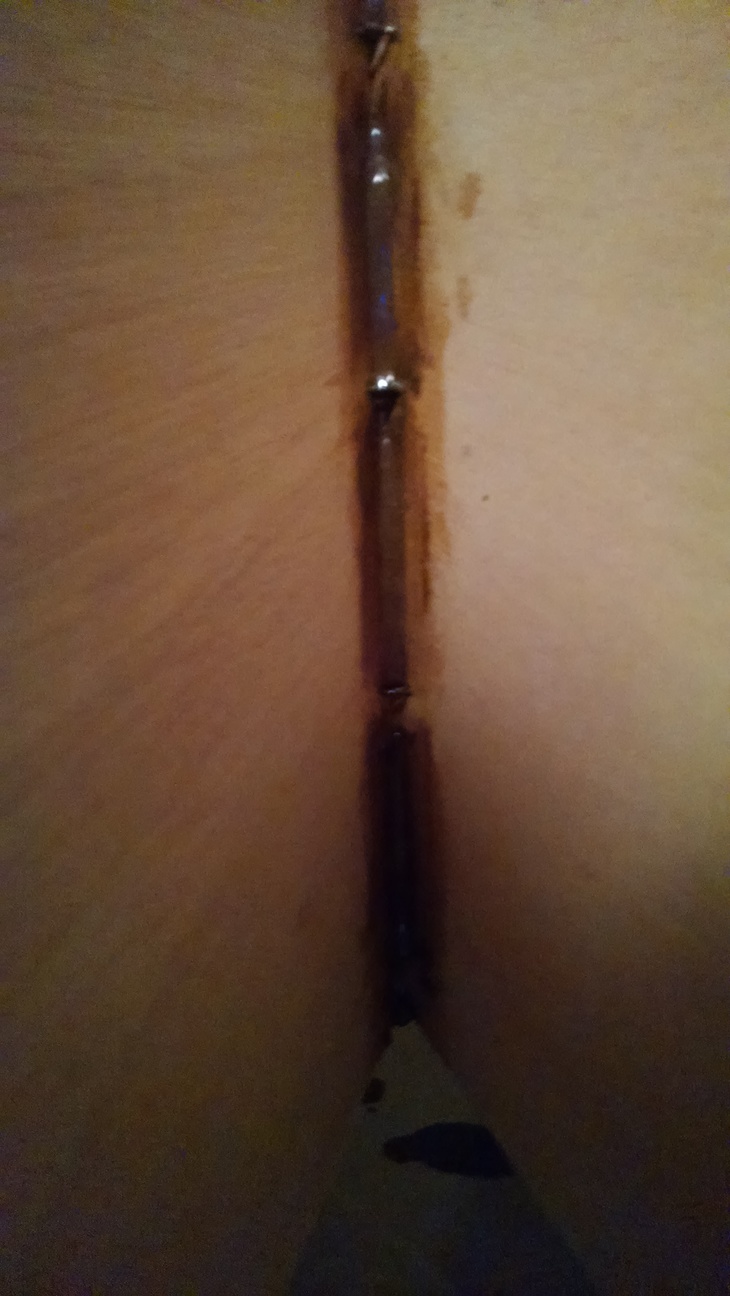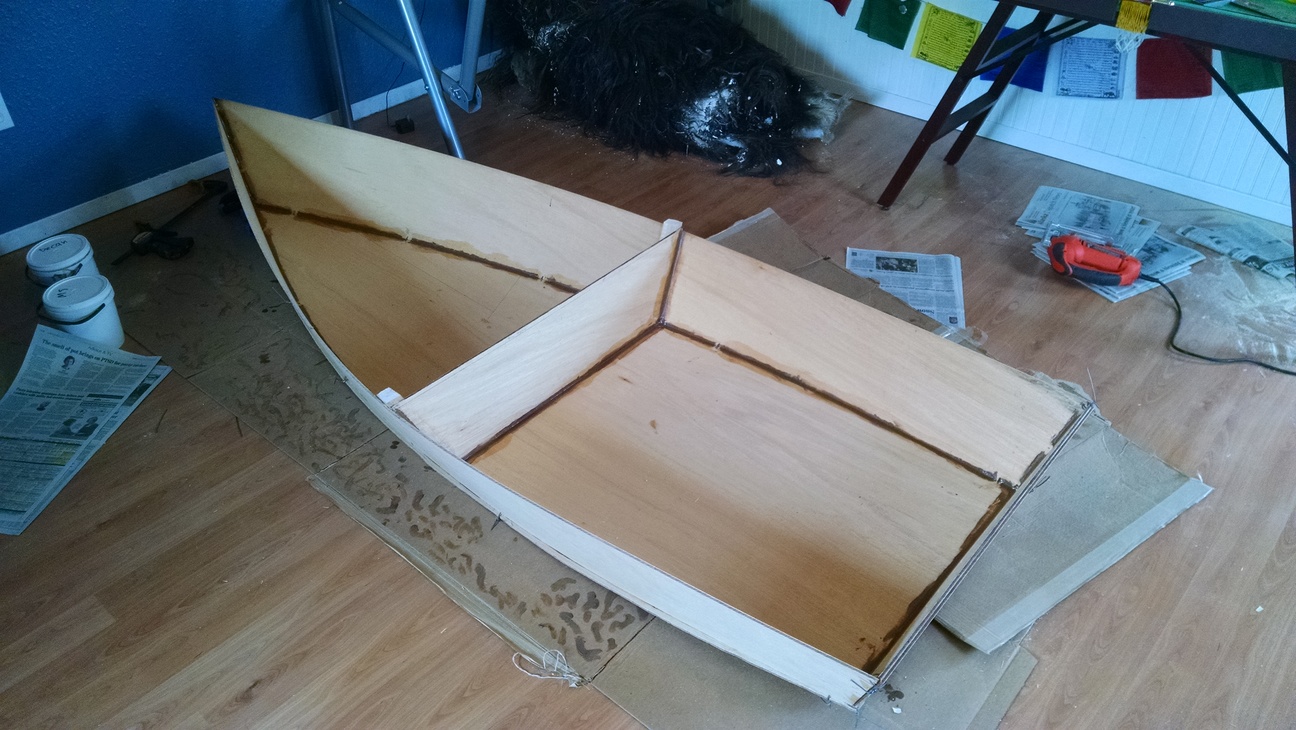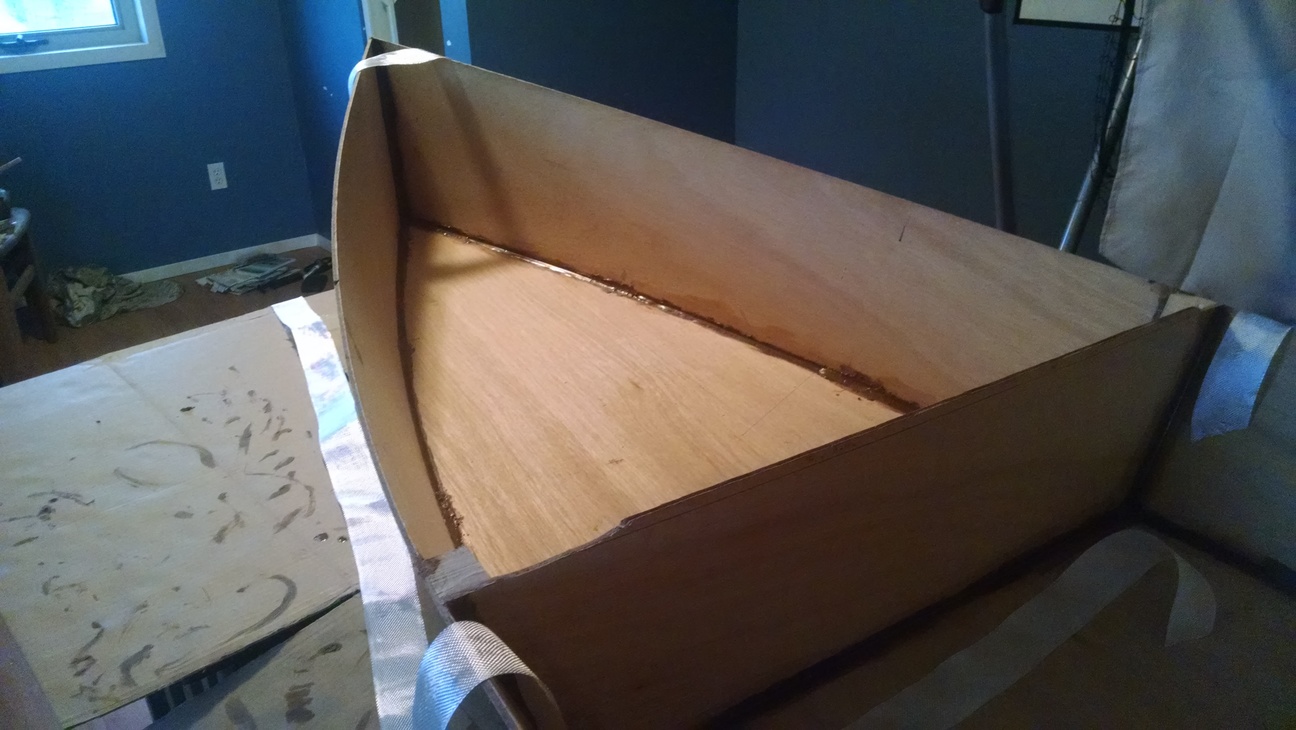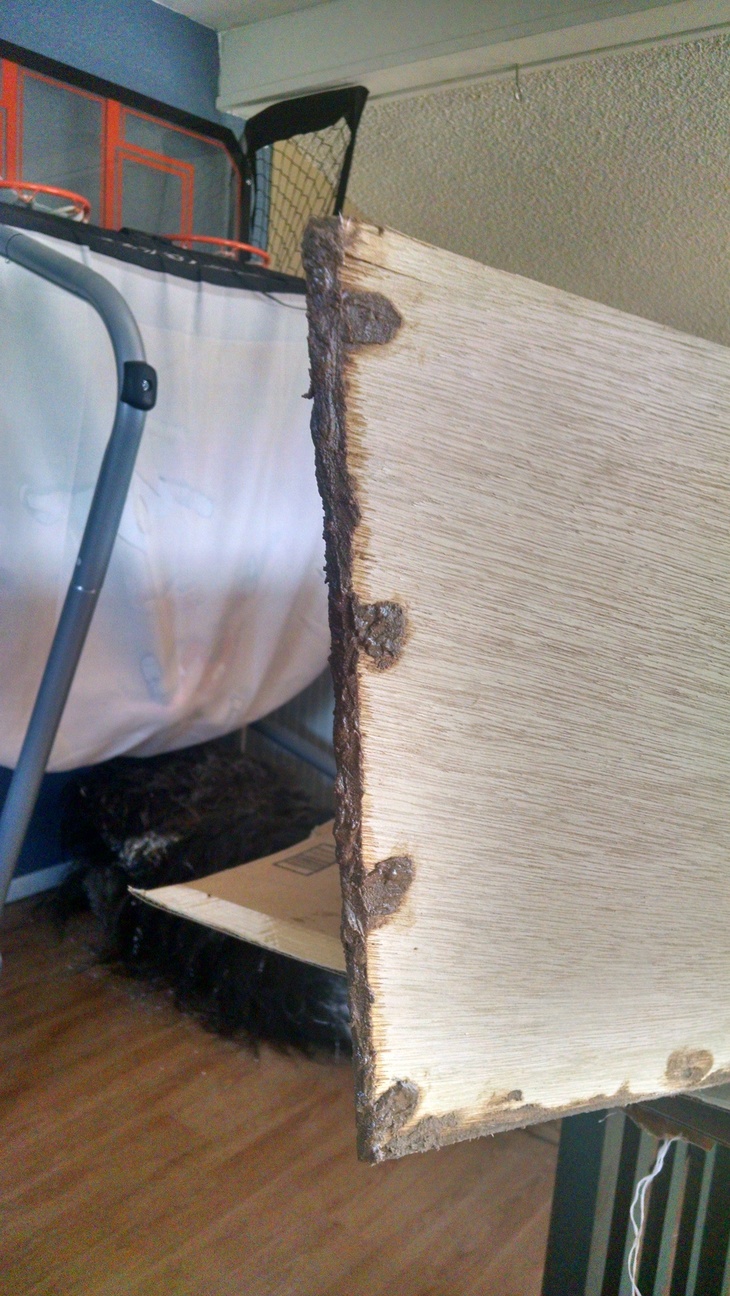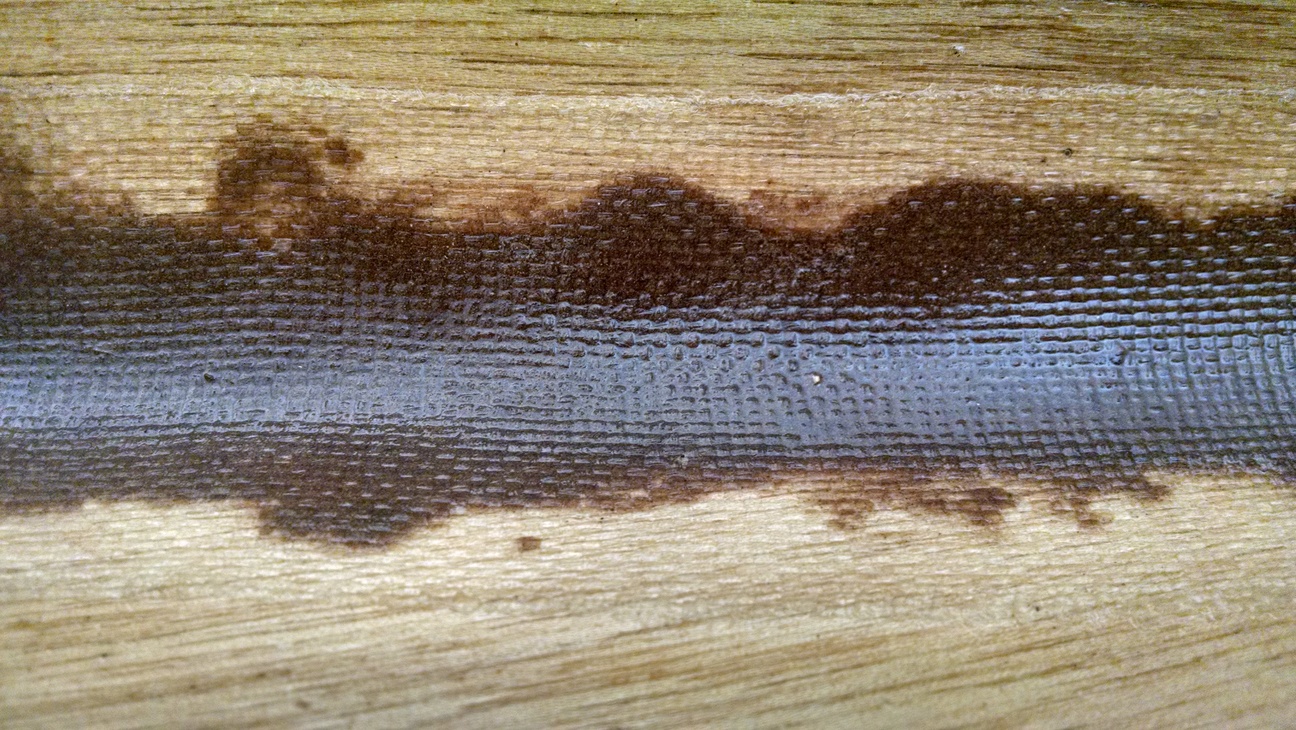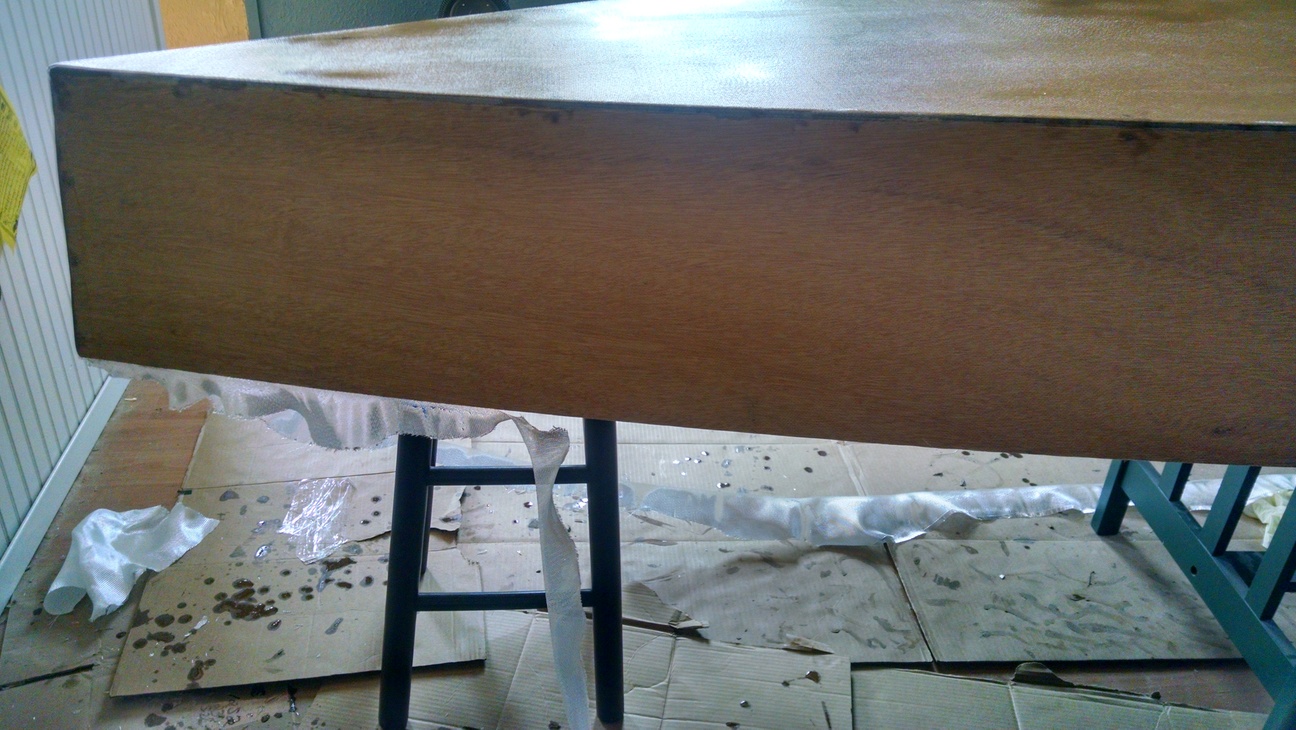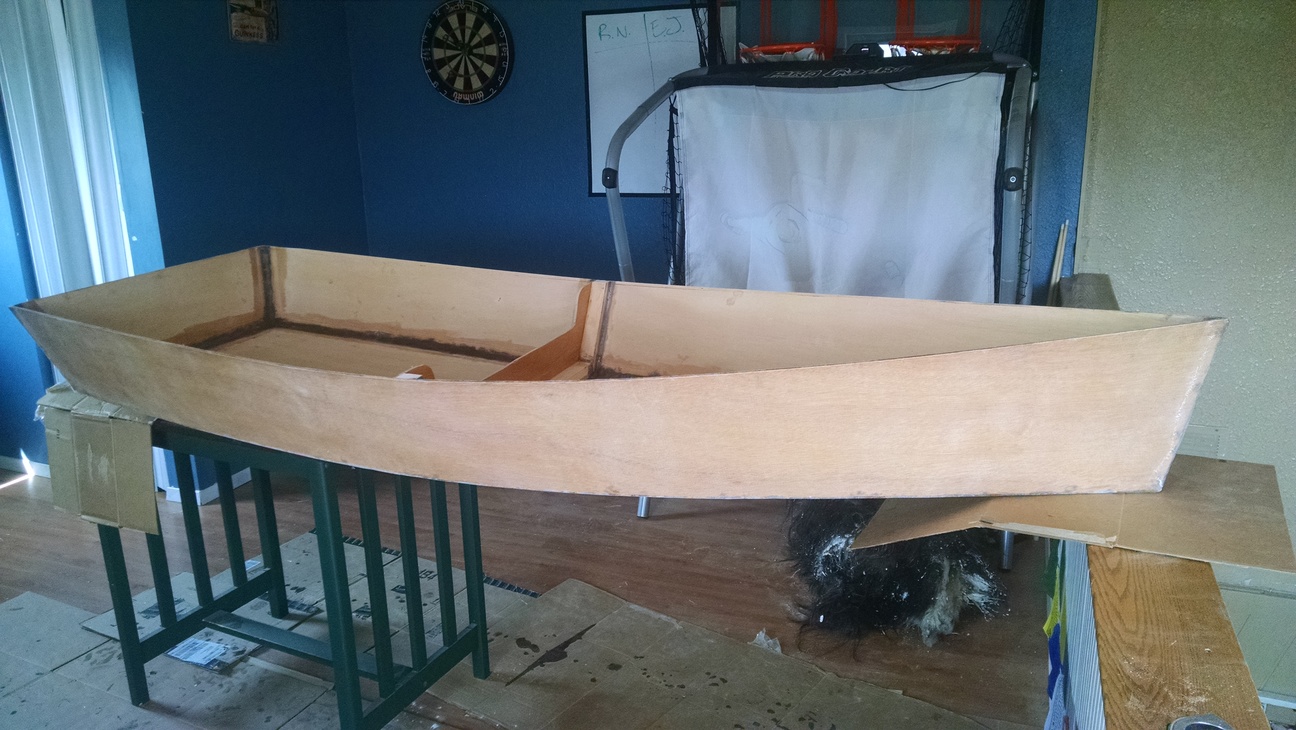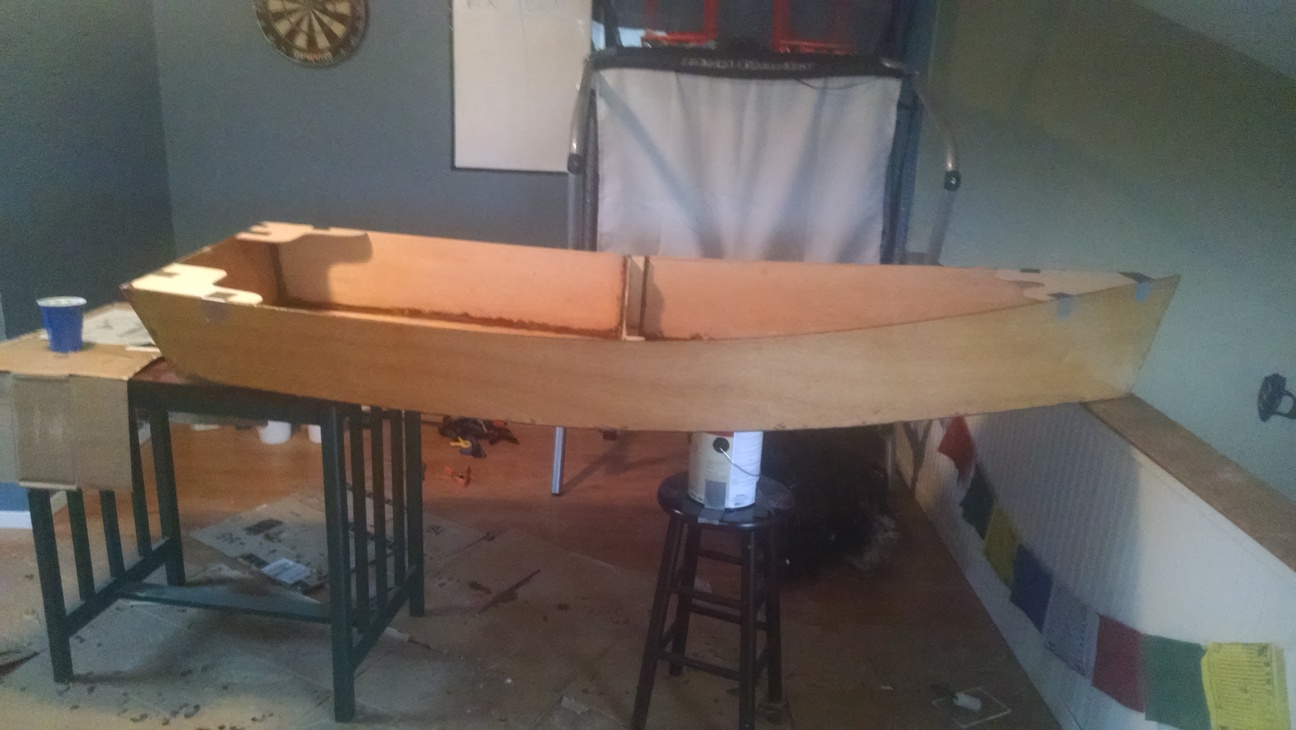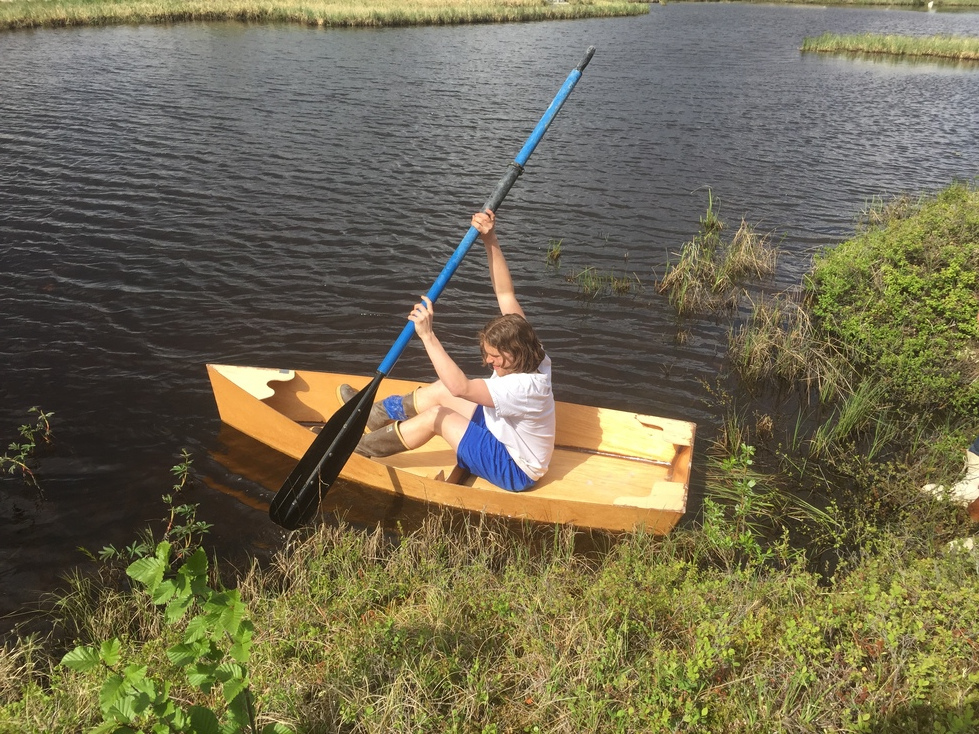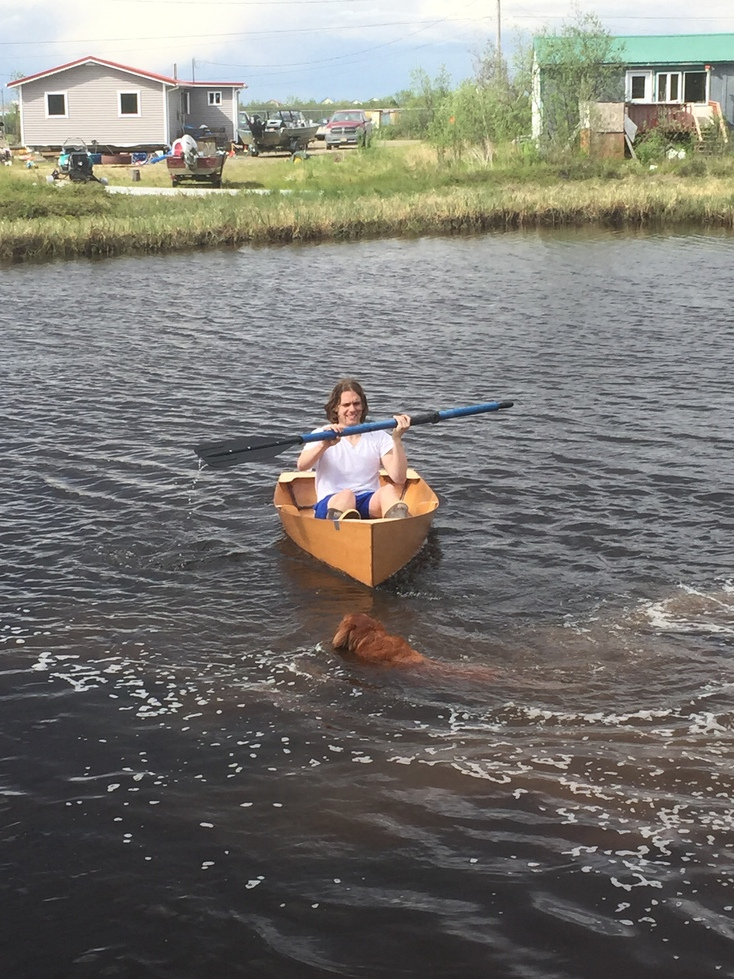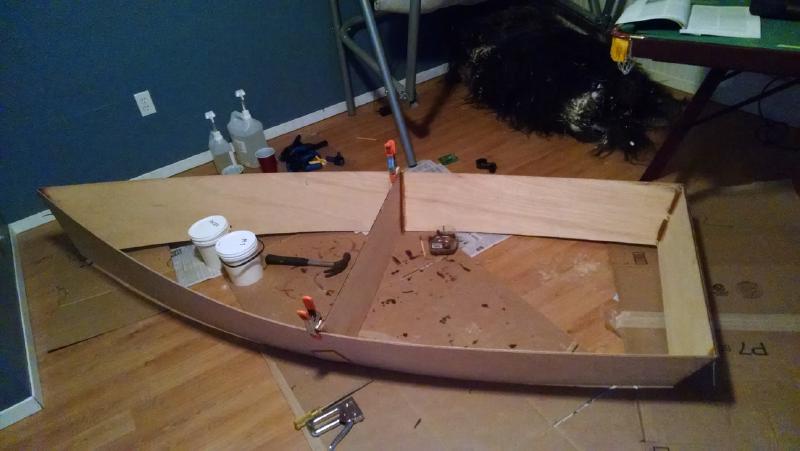
One of my new years resolutions this year (and last year) was to build a boat. My sister got me two books about boat building for Christmas and I spent a while studying, reading, and planning before finally getting down to business. Although I had originally planned my first boat to be Gavin Atkin’s 12 foot Ella Skiff, I decided to start with something smaller so I wouldn’t have to scarf plywood together on my first build. I ended up basing by boat on the mini sharpie, although I took some liberties to make it more suited to my interests.
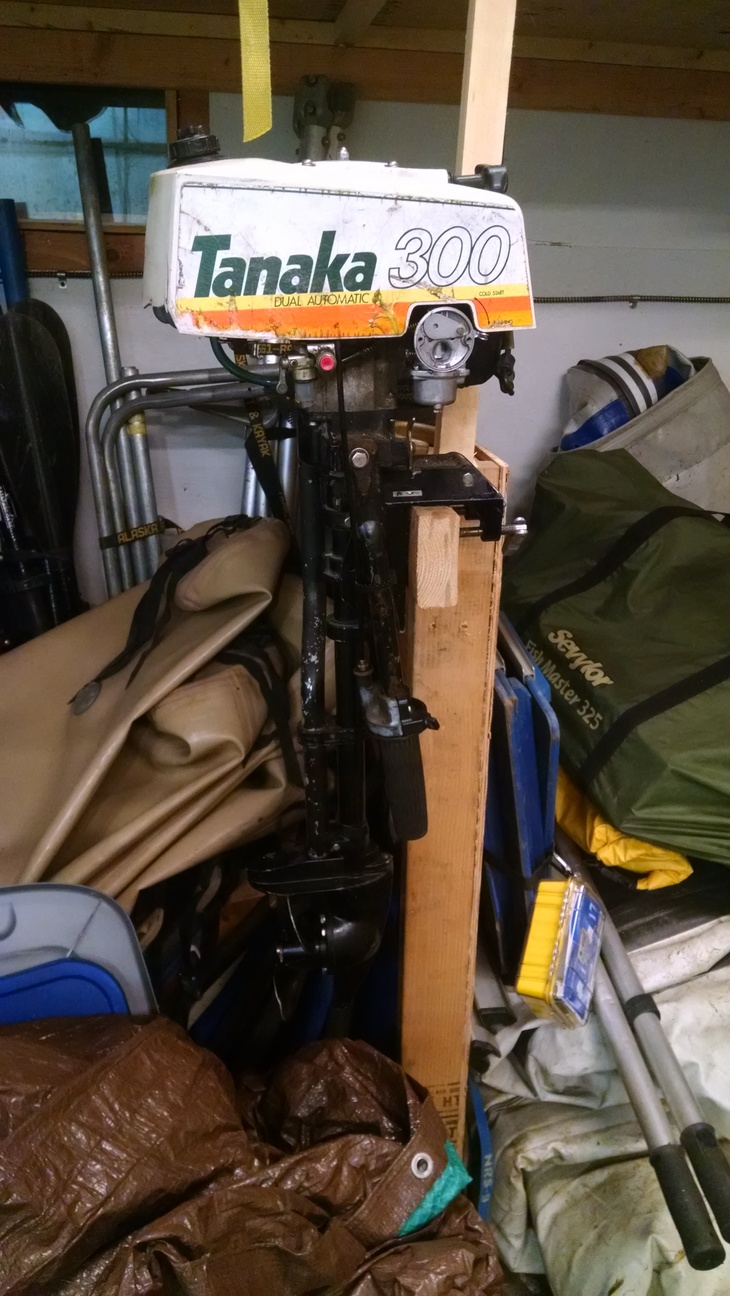
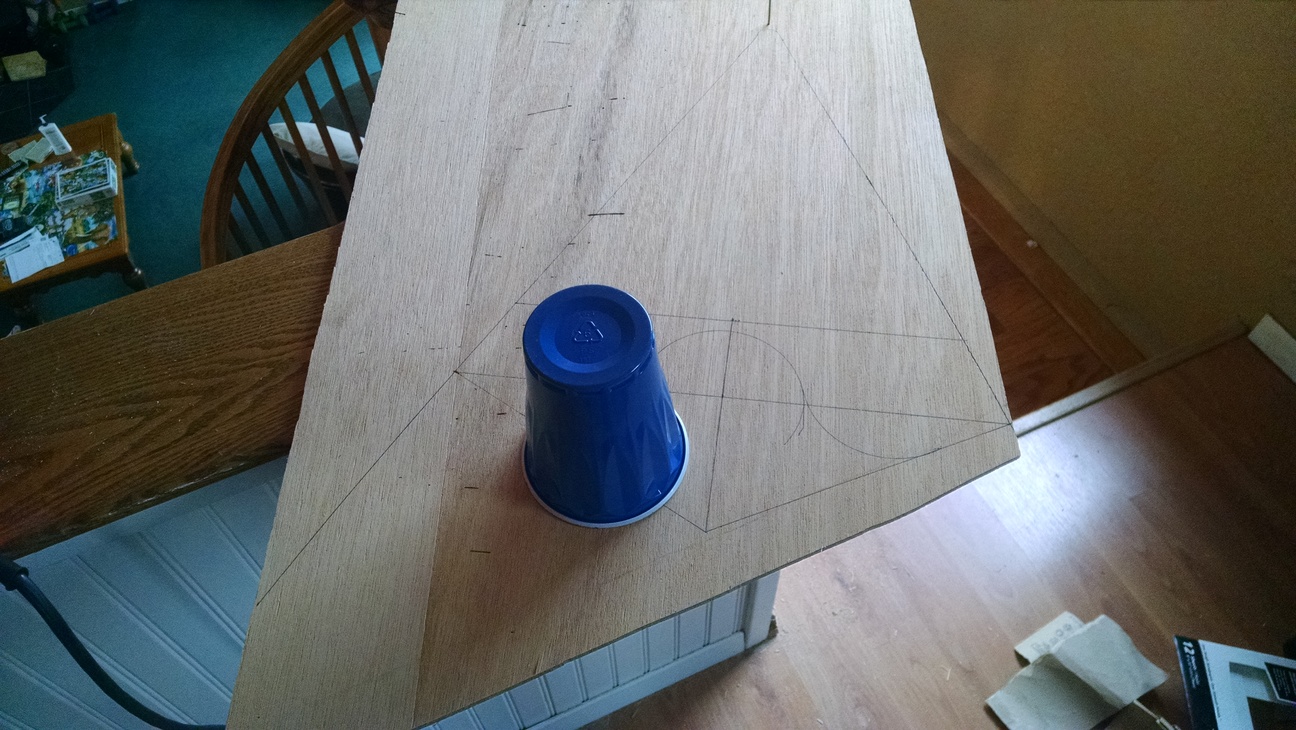
For example, I doubled the transom to mount an outboard motor, used a more traditional wire stitch and epoxy glue system, and cut my own corner supports, breast hook, and middle frame. I also bought two sheets of ACX ply because the good stuff wasn’t available in Bethel, and probably wasn’t worth the money for my first boat. I figured by buying two sheets instead of one I could use the best parts of the sheets, and have a little extra wood for the changes I mentioned.
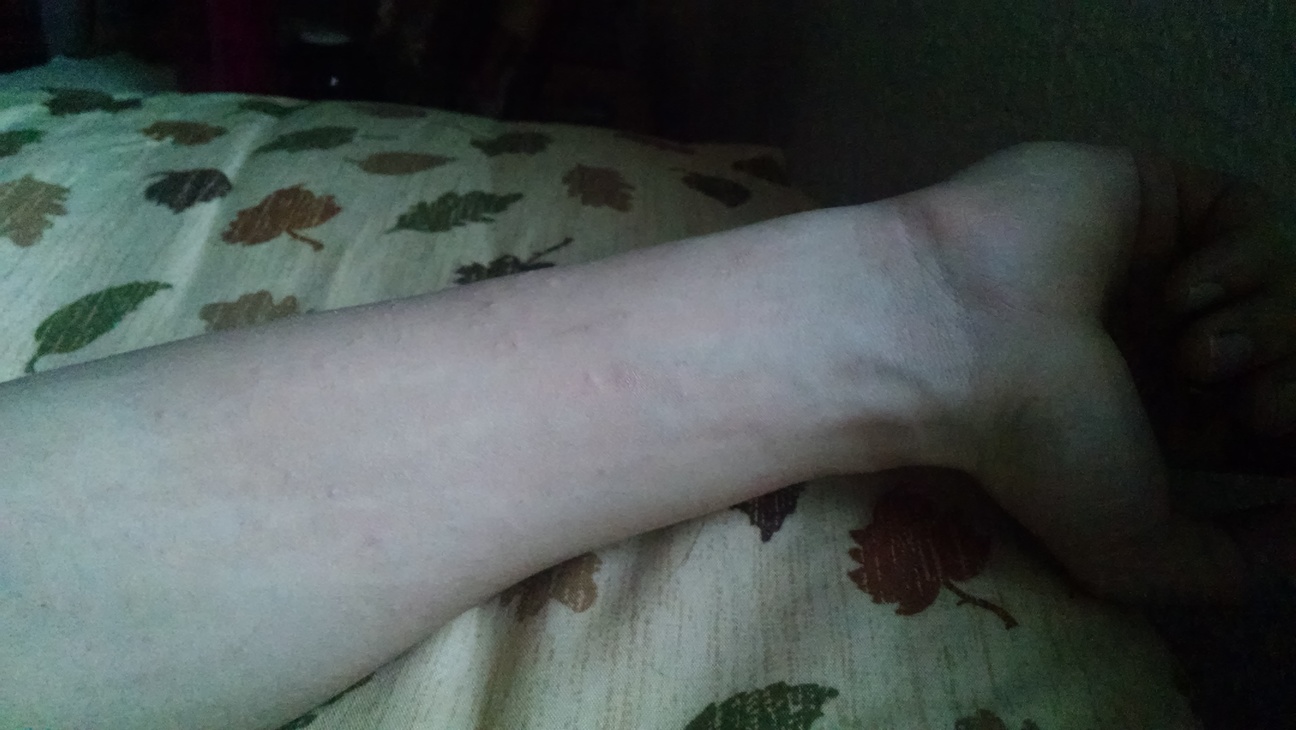
I think the project went pretty well. I learned a ton about working with the materials, what to be careful about in workmanship and what isn’t as critical, and how to be careful. In particular, the warnings you may read about allergic reactions to epoxy are absolutely true. Gloves are not enough. Do not let the stuff get on your skin under any circumstances, and wear a respirator that protects from particulates as well as organic vapors. And don’t sand epoxy that isn’t fully cured. I got really bad rashes up both arms, all over my face and head, and even on my butt. You’ve been warned.
Photos: